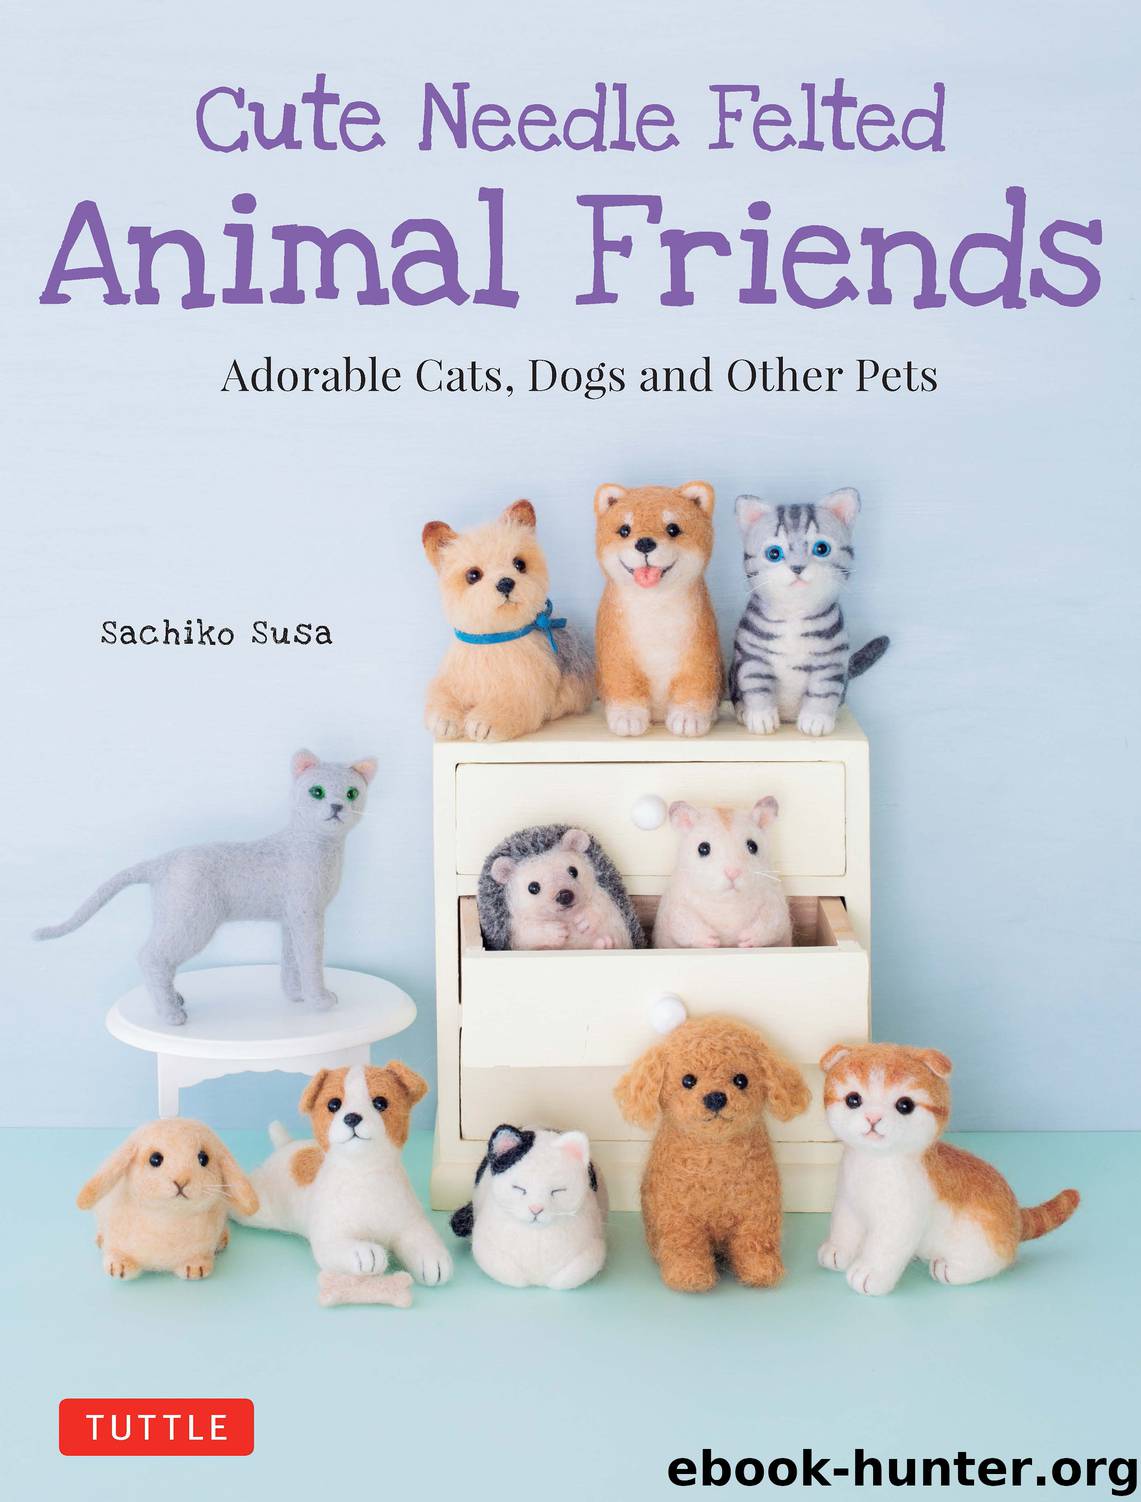
Cute Needle Felted Animal Friends by Sachiko Susa

Author:Sachiko Susa
Language: eng
Format: epub
Publisher: Tuttle Publishing
<ACTUAL SIZE ILLUSTRATIONS OF PARTS>
* Except for the tongue, use beige wool roving for all parts.
INSTRUCTIONS
1. Using the Actual size illustration of parts as a guide, make all the parts except for the body.
2. Make the body (see p. 74 for reference). Form the shape of the body using wire to make an armature, as shown in the illustration. Wrap beige wool around the armature, poke with the needle and keep adding wool to match the actual size illustration for the body.
3. Attach head to body. Place the head on the body and secure by poking with needle all the way around once. Take small amounts of beige wool and place around the base of the head and poke with needle. Repeat one more rotation to firmly secure.
4. Attach upper and lower parts of snout. Place snout on head and secure by poking with needle. Add a small amount of beige wool around the snout and poke to reinforce and adjust the shape.
5. Attach ears. Spread out the loose fibers of the ear, place on head and poke with the needle. Keep adding and poking little bits of beige wool to secure.
6. Add claws. Take a very small amount of off black wool, twist into a strand with fingertips and poke with needle.
7. Except for the face and paws, flock all over as shown in the illustration.
8. Attach nose. Take a small amount of off black wool and place on top of foam pad and lightly poke with needle into a nose shape. Position the nose at the tip of the snout and poke into place with needle.
9. Add mouth and line under nose on the lower snout. Take a small amount of off black wool, twist with your fingertips into a thin strand. Place strand under the nose and poke with needle.
10. Attach the tongue between the upper and lower parts of the snout (see p. 40 for reference).
11. Attach eyes. Punch eyeholes with awl, dab glue on the solid eye stem and insert into eyehole.
12. Flock tail and attach. Flock the beige wool from the tip of the tail to the base in the same way as step 7.. Punch a hole with the awl on the backside for the tail, dab some glue on the end of the tail and insert into hole. Bend the tail towards the body.
<CONSTRUCTION STEPS>
1. Using the Actual size illustration of parts as a guide, make all the parts except for the body.
2. Make the body (see p. 74 for reference)
Download
This site does not store any files on its server. We only index and link to content provided by other sites. Please contact the content providers to delete copyright contents if any and email us, we'll remove relevant links or contents immediately.
| Dollhouses | Dolls & Doll Clothing |
| Miniatures | Model Trains |
| Models | Stuffed Animals |
| Toymaking | Wood Toys |
On Writing A Memoir of the Craft by Stephen King(4909)
The Doodle Revolution by Sunni Brown(4725)
A Simplified Life by Emily Ley(4143)
Mummy Knew by Lisa James(3669)
Marijuana Grower's Handbook by Ed Rosenthal(3658)
Better Homes and Gardens New Cookbook by Better Homes & Gardens(3565)
Figure Drawing for Artists by Steve Huston(3426)
Paper Parties by Erin Hung(3406)
Draw Your Day by Samantha Dion Baker(3331)
The Genius of Japanese Carpentry by Azby Brown(3276)
The Code Book by Simon Singh(3160)
Japanese Design by Patricia J. Graham(3149)
Dangerous Girls by Haas Abigail(3015)
Lions and Lace by Meagan Mckinney(2952)
The Curated Closet by Anuschka Rees(2948)
How to Make Your Own Soap by Sally Hornsey(2879)
The Checklist Manifesto by Atul Gawande(2829)
Zero to Make by David Lang(2768)
The Wardrobe Wakeup by Lois Joy Johnson(2764)
